Overview
This is a proof of concept of a custom movement component made using UE5 and C++ that replicate V’s movement ability of jumping (of course), double jumping, crouching, dashing, mantling (grabbing a ledge and push oneself up) and vaulting (climbing an obstacle and landing on the other side).
This has been developed for a demo project where me and other colleagues are creating a cyberpunk-style quest which is still a work in progress.
State design pattern
For starters I chose to use what was already done in the Engine so I created a class that extends the Unreal
To handle all the different movement states that the player could perform/be in I decided to use a State Design Pattern through the use of a simple Finite State Machine.

The state machine is implemented like this:
StateMachine.cpp
void UStateMachine::Init(const TObjectPtr<UState> StartingState)
{
  CurrentState = StartingState;
  StartingState->EnterState();
}

void UStateMachine::AddState(const TObjectPtr<UState> NewState)
{
  States.Add(NewState);
}

void UStateMachine::Tick()
{
  for (auto e : CurrentState->Transitions)
  {
    if (e->CheckTransition())
    {
      CurrentState->ExitState();

      UE_LOG(LogTemp, Warning, TEXT("GOING FROM: %s"), *(CurrentState->GetName()));
      UE_LOG(LogTemp, Warning, TEXT("TO STATE: %s"), *(e->ToState->GetName()));

      CurrentState = e->ToState;
      CurrentState->EnterState();
      break;
    }
  }

  CurrentState->Tick();
}
On each tick the state machine performs the tick of the current state and checks if it can transition in any other state, if it can then it runs the exit logic of the first state and then the enter logic of the new state.
The next step from this structure would probably be to avoid the check on tick but for this specific purpose (handling the movement states) I think it’s a good approach.
Transition.cpp
// Init function that substitutes the constructor
//  here we set the state the transition points to
void UTransition::Init(const TObjectPtr<UState> toState)
{
  ToState = toState;
}

// Check if the state machine can transition to the state pointed by this transition
// (by executing the condition bound to the delegate)
bool UTransition::CheckTransition()
{
  if (OnCheckConditionDelegate.IsBound())
  {
    return OnCheckConditionDelegate.Execute();
  }

  UE_LOG(LogTemp, Warning, TEXT("Transition to %s is not bound"), *ToState->GetName());
  return false;
}
State.h
  UPROPERTY(BlueprintReadWrite)
  TArray<TObjectPtr<UTransition>> Transitions;

  // Called when entering the state
  virtual void EnterState();

  // Called when the state machine is in this state
  virtual void Tick();

  // Called before exiting this state
  virtual void ExitState();
Nor the state nor the transition class hold a pointer to the owner class since I wanted to keep these three classes as generic as possible.
To speed up the creation of new states I also decided to extend the state class and create a project specific state (state) from which all the movement states (concrete states) are derived.
StateCyberpunkProject.cpp
void UStateCyberpunkProject::Initialize(
  TObjectPtr<UCustomCharacterMovementComponent> owner,
  ECustomMovementState state)
{
  Owner = owner;
  State = state;
}

void UStateCyberpunkProject::EnterState()
{
  Super::EnterState();
  Owner->SetCurrentMovementState(State);
  // Delegate for any object who might be interested in knowing when the state machine
  // enters a specific state
  Owner->OnEnterCustomMovementState.Broadcast(State);
}

void UStateCyberpunkProject::Tick()
{
  Super::Tick();
}

void UStateCyberpunkProject::ExitState()
{
  Super::ExitState();
  Owner->SetLastMovementState(State);
  Owner->OnExitCustomMovementState.Broadcast(State);
}
The component
The
It also has all the movement properties as fields exposed to blueprint for the designers to modify them as they see fit; to improve this process the next step would be to make the component read from a given data table during its initialization, to allow the creation of different “builds presets”.
CustomCharacterMovementComponent.h
CustomCharacterMovementComponent.cpp
States folder
The logic for each movement ability is implemented in the corresponding state:
Jumping / Double Jumping
For the jump and double jump I used the jump function already present in the Engine but I worked on getting the exact same feeling I got from V’s jumps by playing around with the gravity: in particular when the player reaches the apex of the jump the gravity becomes 0 for a really small amount of time before being reset to the original value.
The double jump becomes possible only if there is the transition in the state machine and it has a stronger jump force.
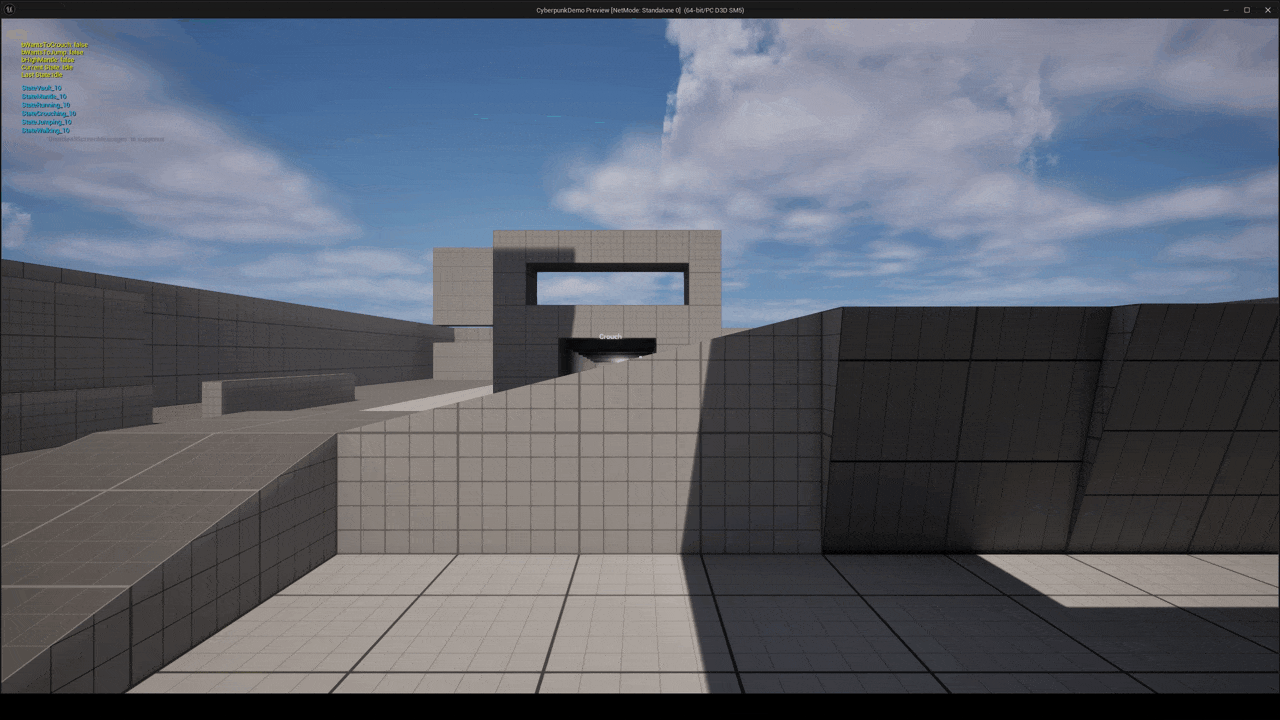
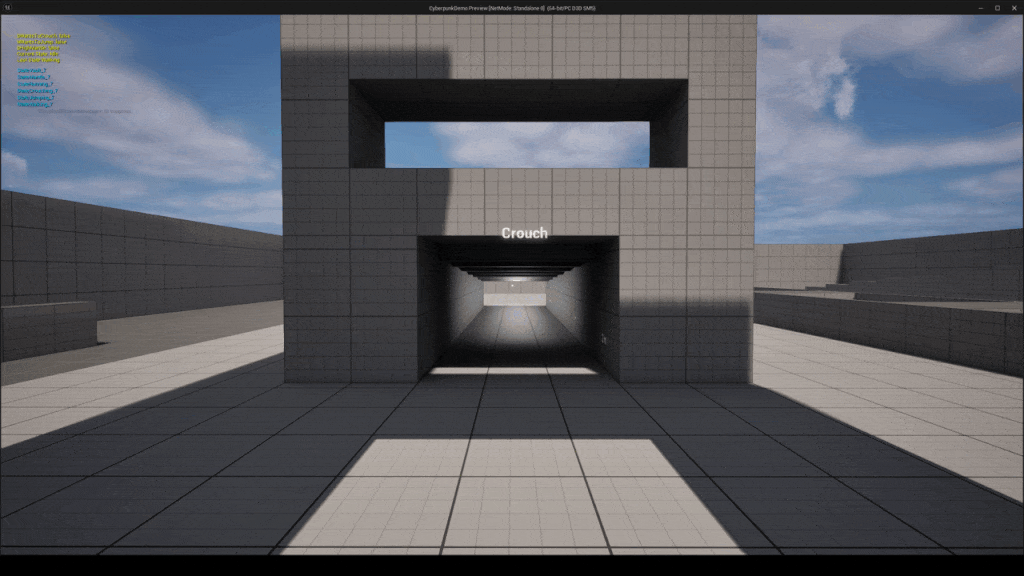
Crouching
Also for the crouch I used the built-in function but I smoothed it out to avoid the snapping of the camera.
To do this I extended the camera manager class and I created a method that fixes the player POV according to its state (normal/crouching).
I like this approach since I can keep the snapping in place of the collider, moving it slowly to smooth out the feeling of the crouch could potentially create some problems and by moving only the player POV I can avoid any unwanted behaviors.
Dashing
The dash is a simple multiplier of the player’s walk speed for a brief amount of time; as of right now it is not thought to be used nor while crouching nor while in the air, only while walking or running.
Mantle
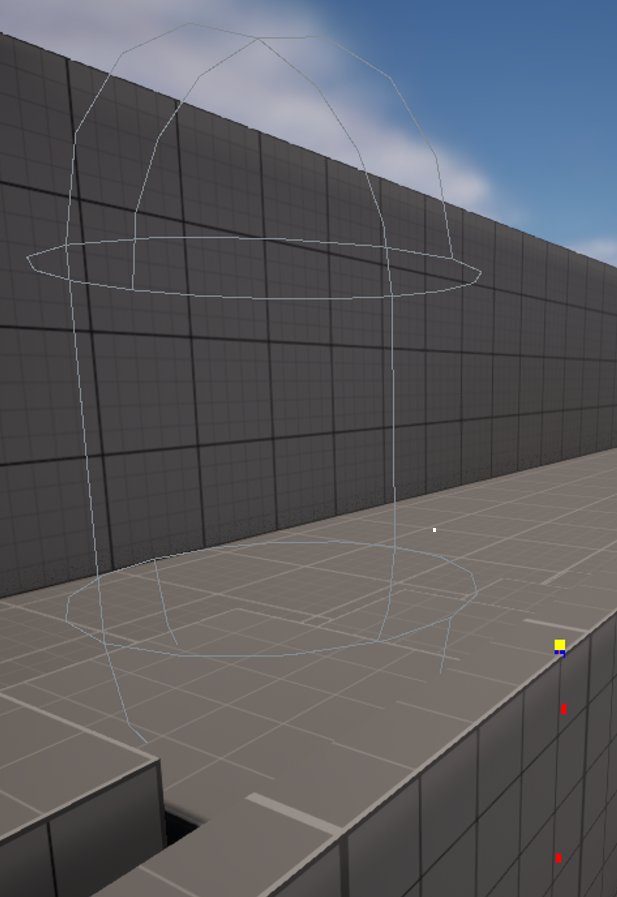
The mantle (the ability to “grab” the ledge of an object and push oneself above it) is achieved after a number of raycasts and capsule cast:
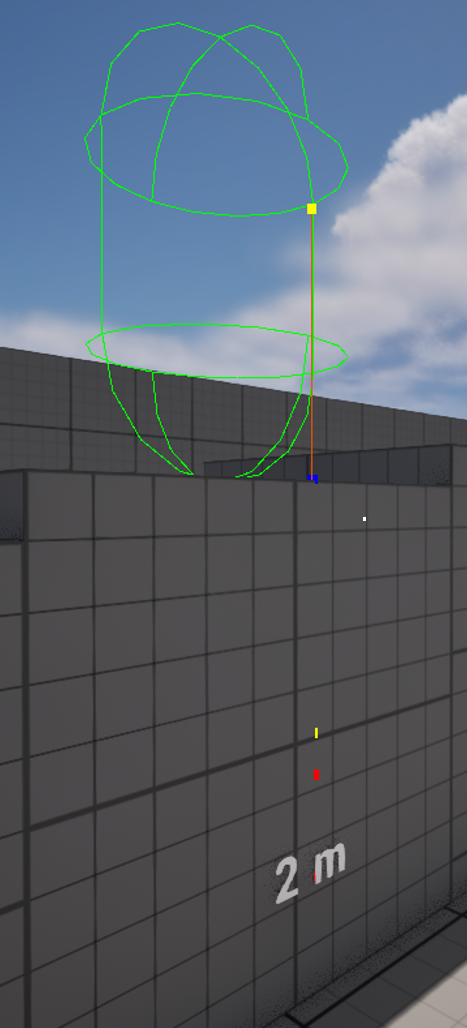
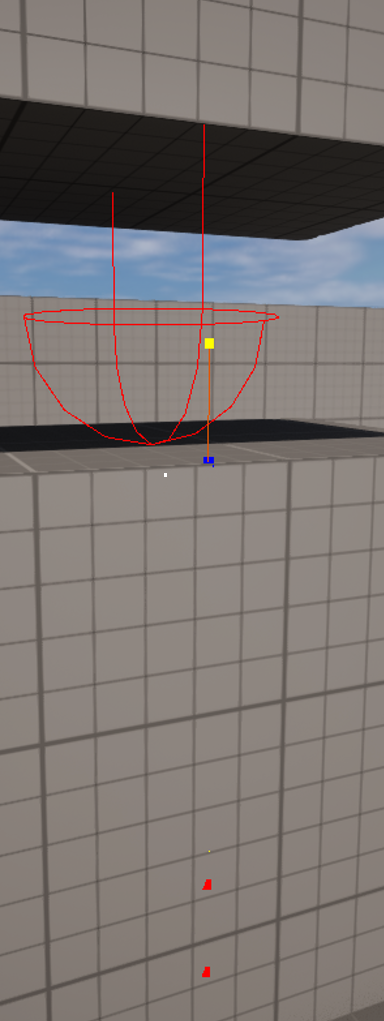
- A (customisable) number of raycasts from the capsule to check if there is an object in front of us and if it is a
“mantable” one (because the level designer wanted to have control over which object could the player mantle over and which not) and if it’s not too steep (“Mantle” image, red point); - To find the surface it’s important to take into consideration the potential steepness of the front, to do this I need to find a point (TRACE-START) (“Mantle” image, yellow point) exactly above the surface and for this point I need:
- An up vector projected onto the front of the obstacle (WALL-UP);
- The sin of the angle created between the up vector and the normal of the front of the obstacle (WALL-SIN).
The starting point for the raycast is the location of the wall plus a forward vector scaled by the WALL-UP vector times the magnitude we want this vector (the max height we can perform the mantle), all divided by WALL-SIN.
(WALL-SIN will be between 0 and 1 thus making TRACE-START higher to account for the potential steepness of the wall; this ensures that TRACE-START has always the same distance from the surface);
- From this point a raycast is shot downwards and I check for a valid hit; if there is (“Mantle” image, blue point) I also check if the surface is too steep to mantle on and if the surface is too high;
- After that I check for clearance:
- If there is something between the player and the surface;
- If there is enough space for the player on the surface of the obstacle (“Mantle” image, green capsule).
If all of these passages are successful then I assume that the player can mantle.
There is one final step and it’s to separate a
You can find the code here or alternatively here (line 530)
When entering the mantle state I reset the player velocity and disable the gravity effect on him, then the Mantle() function is called.
As of right now the implementation is a simple interpolation between the player’s position and a point on the surface of the obstacle, this is done in blueprint since I use a timeline node to customize the curve for it; in the future it will be handled by animation and root motion.
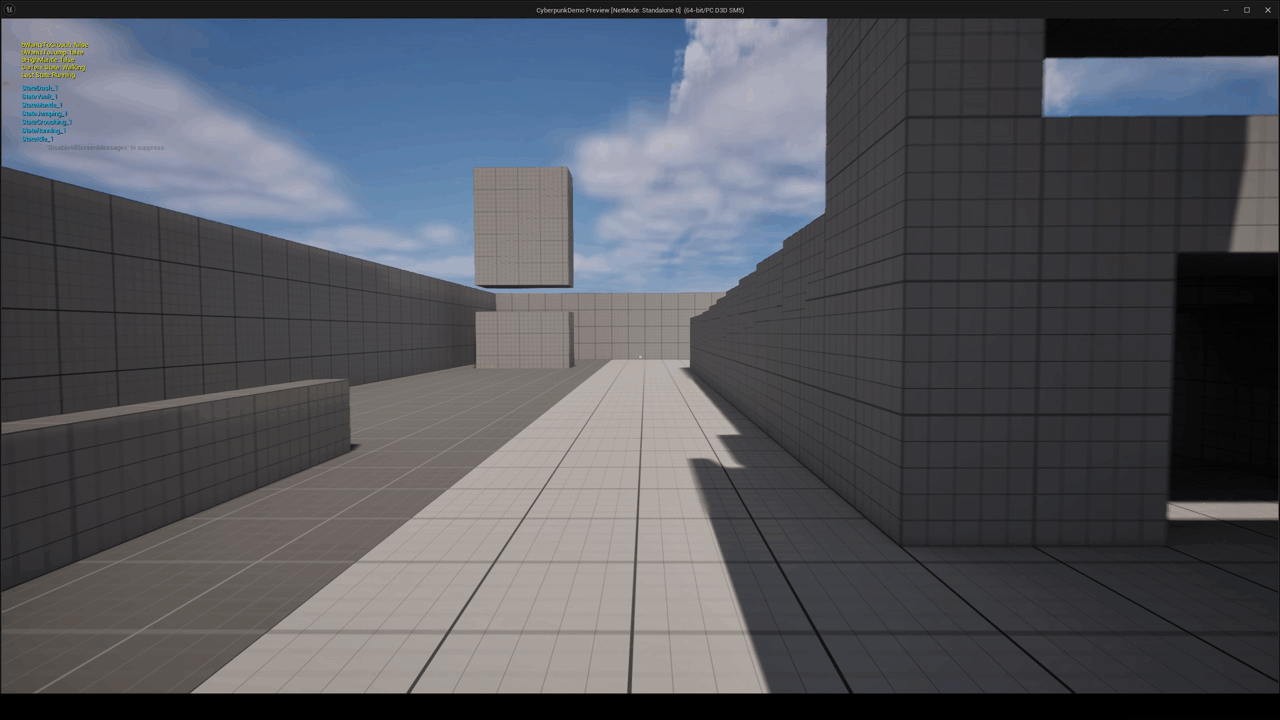
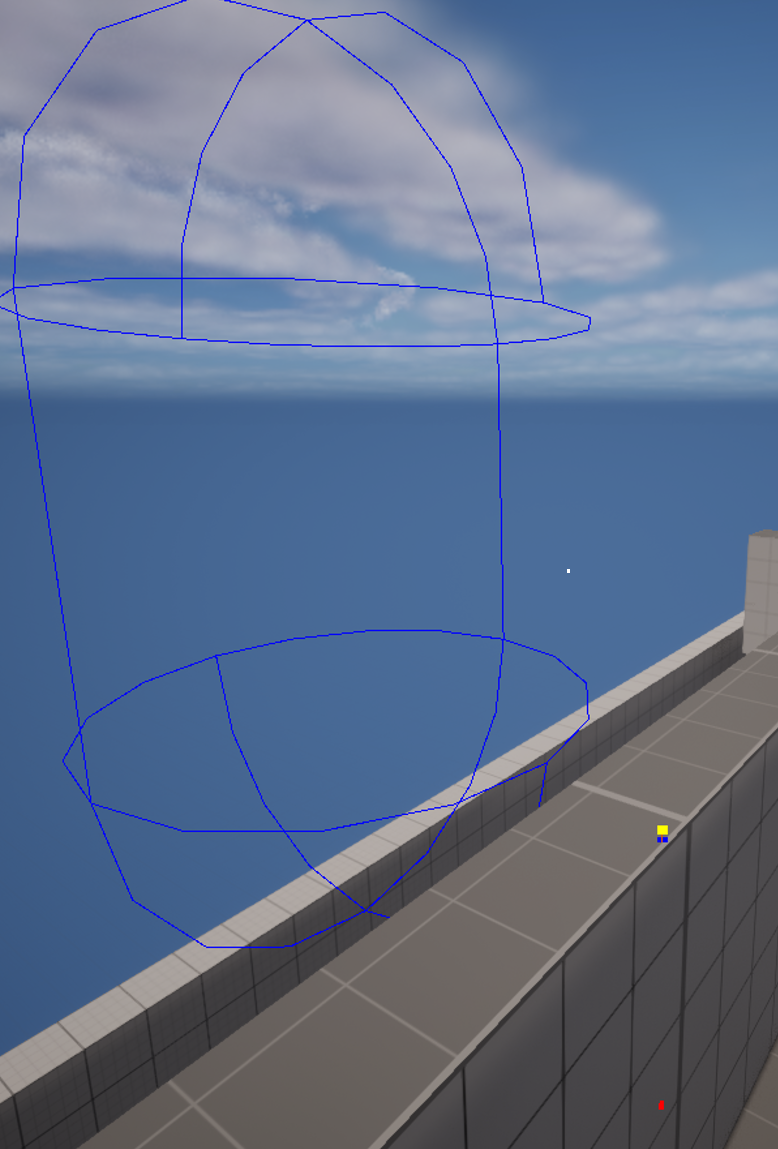
Vault
The vault (the ability to climb over an obstacle to overcome it and landing on the other side of it) is achieved in a really similar way as the mantle above, thus I will not go too much into its details.
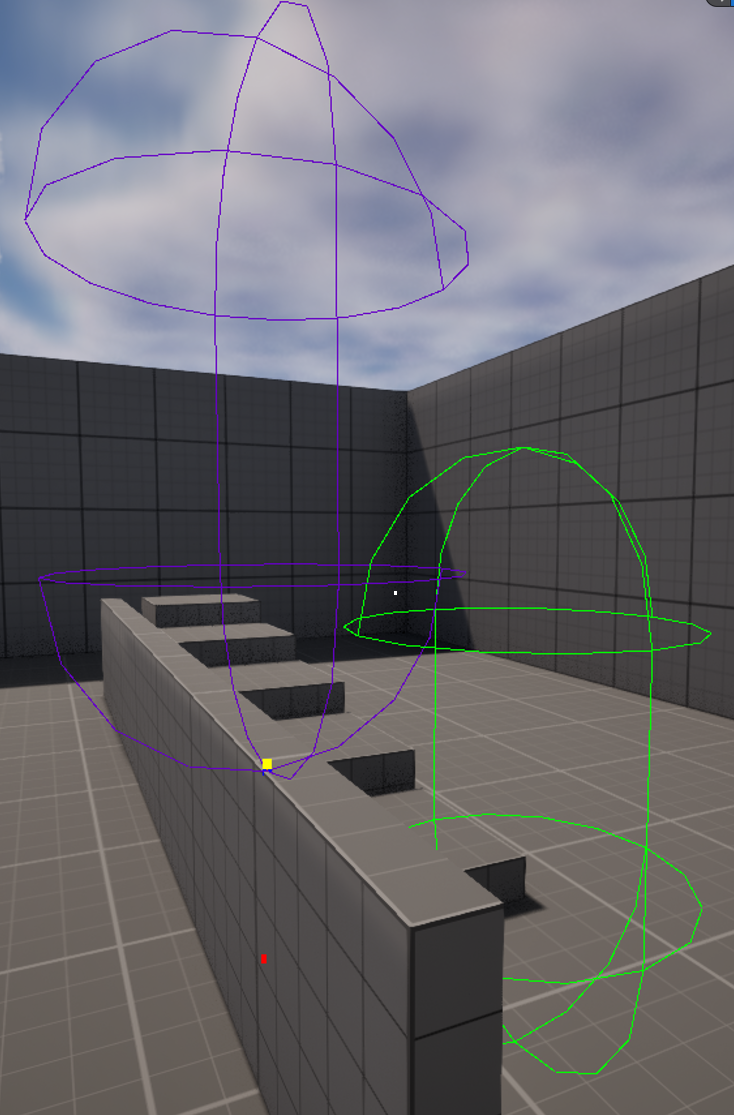
The main difference is that after finding the obstacle surface and checking if there is enough space above it (“Vault - Normal” image, purple capsule”), I also need to check if there is enough space on the other side of it.
To do this I check for potential collisions in a point above the surface of the obstacle by half of the player height to which I add a forward vector multiplied by the player capsule radius plus the max possible width an obstacle could have in order to be
If there are no collisions then a vault is possible (“Vault - Normal, green capsule”) and all there is left to do is check if the ground on the other side of the obstacle is at a similar height of the starting one.
This is because I have two different kind of vault:
- A normal one, which can be performed when the ground is at a similar height, regardless of the player’s movement state;
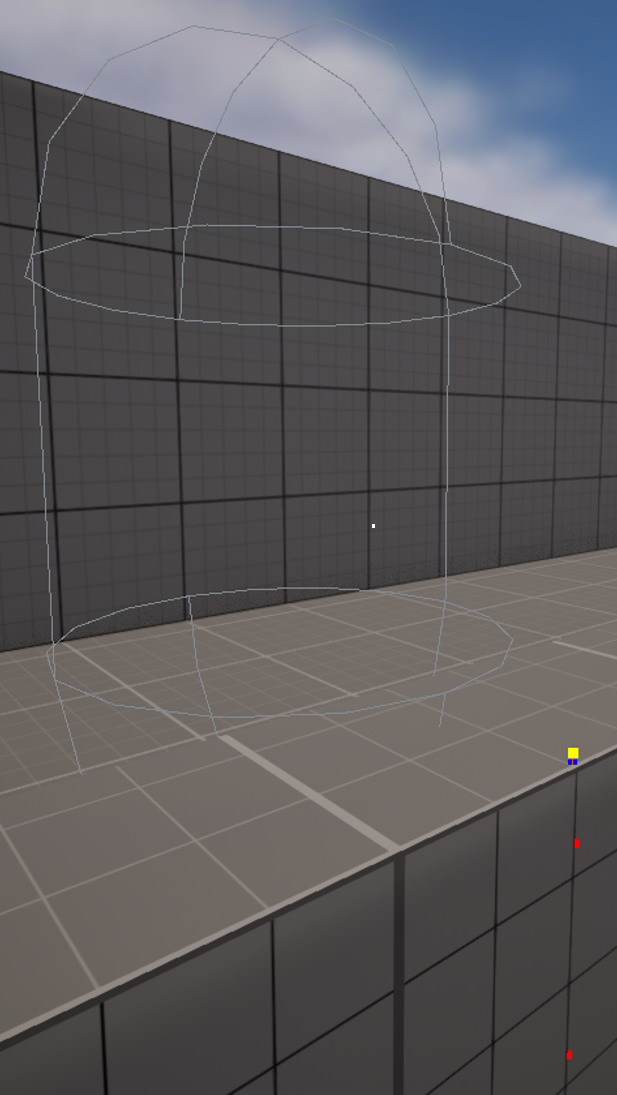
- A “falling” one which can be performed when the ground is NOT at a similar height and only if the player is walking or running (“Vault - Falling, blue capsule”). If the player tries this vault while in idle state it will just mantle the obstacle.
You can find the code here or alternatively here (line 651)
When entering the vault state I reset the player velocity and disable the gravity effect on him, then the Vault() function is called.
As of right now the implementation is a simple interpolation between the player’s position and a point on the surface of the obstacle and then another interpolation between the surface and the other side of the obstacle.
This is done in blueprint since I use a timeline node to customize the curve for it; in the future it will be handled by animation and root motion.